
HubSpot allows you to easily create forms and add to your pages (Hubspot pages or external site pages).
1. Login to your HubSpot account and click on Marketing > Lead Capture > Forms
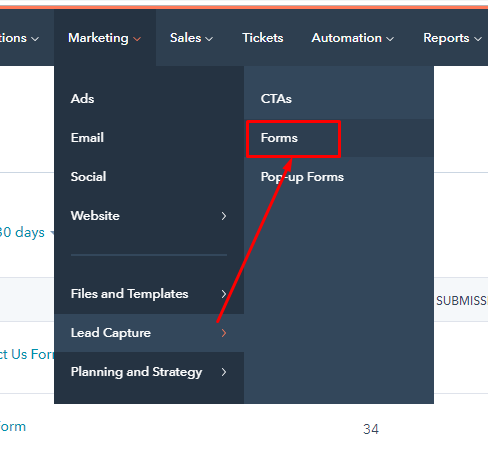
2. Now click on Create form.

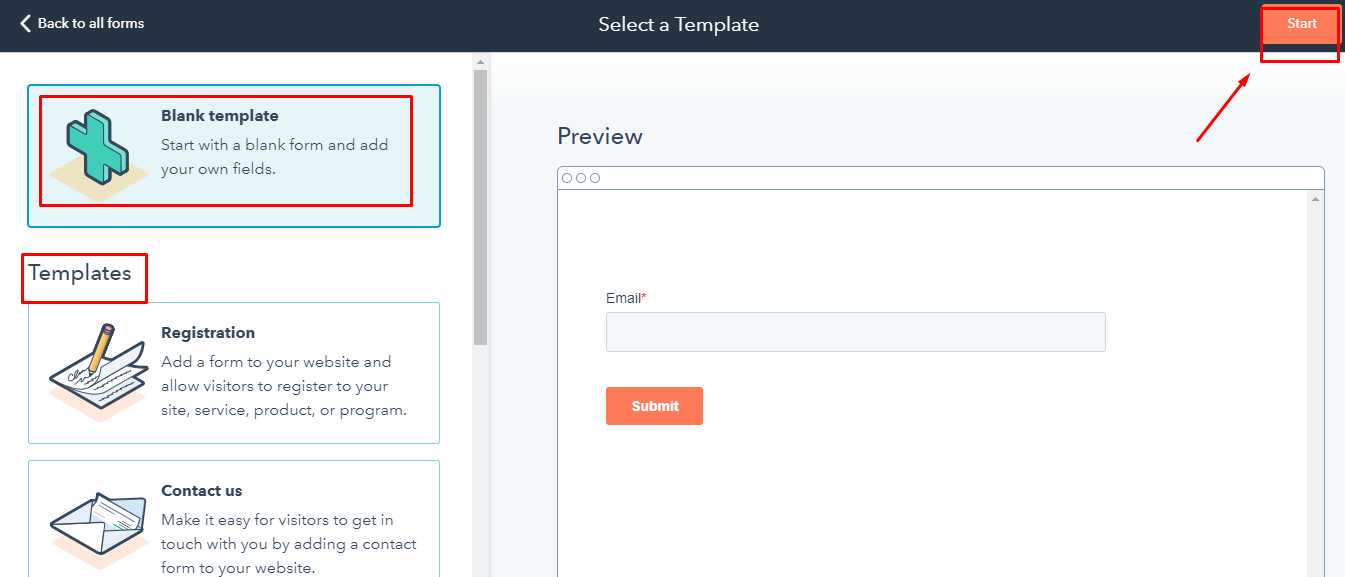
3. On the left side, there are different types of forms. You can select Blank template if you want to start with a blank form, or a pre-designed template to start with a form with fields for a specific use case.
On the right side, you can also see the preview for a selected form.
On the top right corner, click Start.
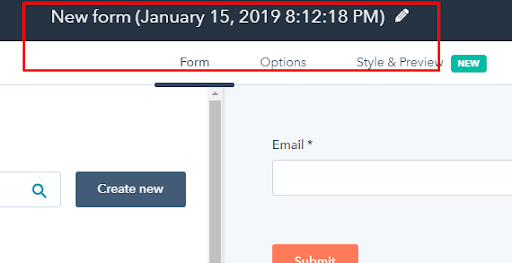
4. At the top of the form editor, you can edit the form name.
5. Search and add the form fields from the left sidebar. Simply drag and drop the fields on a place you want in your form. You can also shift the form fields below and above the other fields.
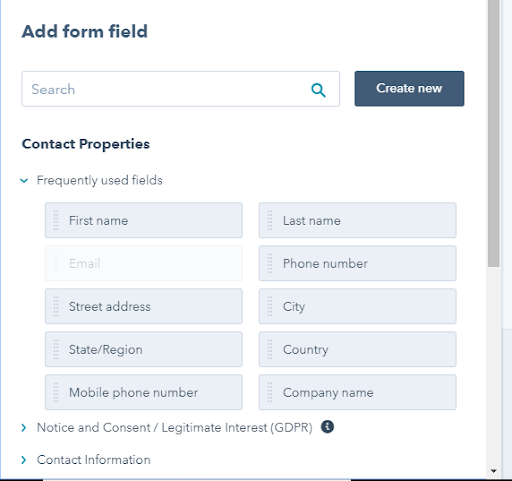
6. By default, to create the contacts for form submissions the Email field is required.
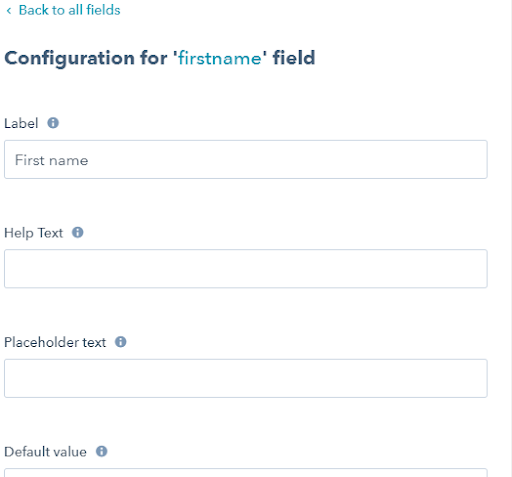
You can also edit display options of your form fields by selecting the field. You will have options like:
Label: Form field name.
Help text: Add text near the field's label to help the visitor.
Placeholder text: Text inside the form field but it will disappear when the the visitor will click on it to write something.
Default value: The value that is already written in the form field by default and if the visitor will not change the value then that default value will be submitted automatically.
Field options: To edit the form field options.
Progressive field options: If the field has been submitted ever before then select the new action to take.
Make this field required: Make the field mandatory to submit the form.
Make this field hidden: To hide the field so that certain values can be passed into contact properties.
7. To add personalised text between form fields, you can add rich text areas. Rich text areas are also helpful to create headers or add spacing to your form.
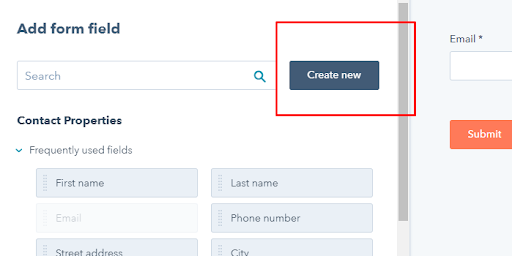
8. You can also create new contact properties directly from the form by clicking on Create new.
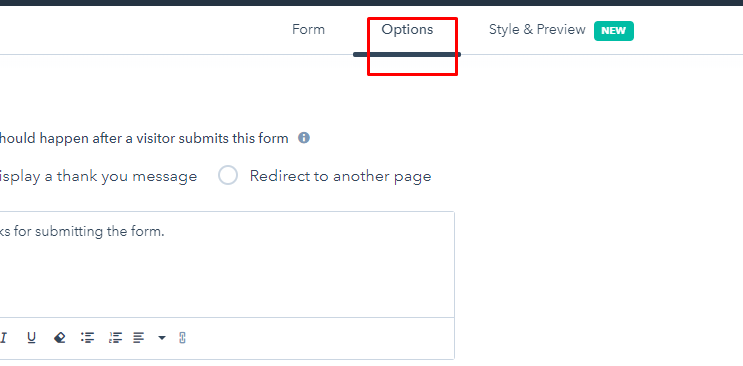
After adding and editing the form fields, Click on options tab to choose the action taken after the form is submitted. You will have option like:
What should happen after a visitor submits this form: Here, you can choose to display a simple thank you message or any text or you can also add any page links to redirect the page after submitting the form.
Follow-up options: To send a notification automatically to the contact's owner, select the Send submission email notifications to the contact's owner checkbox.
Send submission email notifications to: Select the ID’s whom you want to notify about the form submission
Form and error message language: Choose the language for default field labels and errors displayed to visitors who don't fill out the form correctly.
Cookie tracking: It is enabled by default. To disable cookie tracking, click the Cookie tracking switch off. Please note that if you disable the cookie tracking then it will stop the analytics data from being recorded as part of the original contact submission.
Pre-populate fields with known values: Control whether or not forms pre-populate with known information when a contact returns to your site. This option is enabled by default.
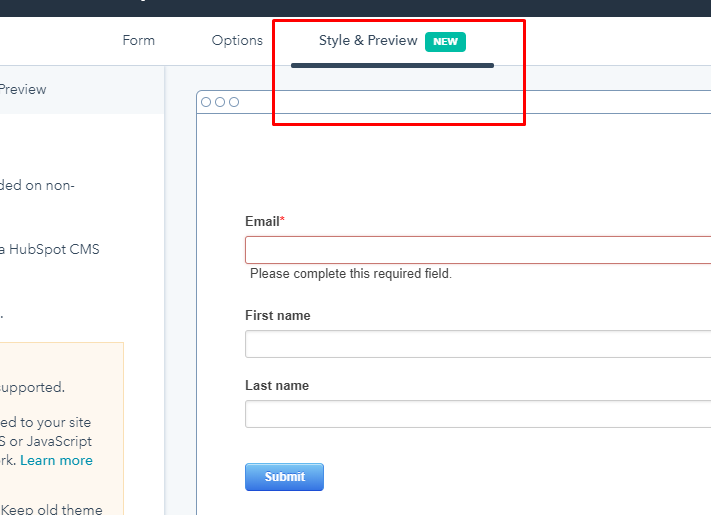
9. Next step is to Style and preview your form. After customising the form options, Click on Style & Preview:
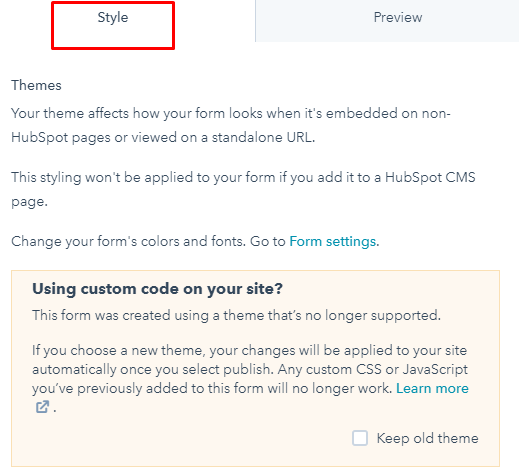
10. Click on style tab and choose any one theme among the four themes available.
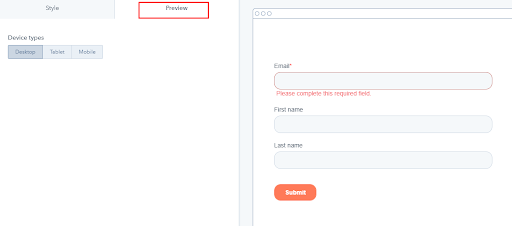
11. Click on Preview tab if you want to check how the form will appear on different devices.
12. Final step is to Publish the form.
After you have made all the modifications to your form, click Publish on the upper right corner to take the form live.
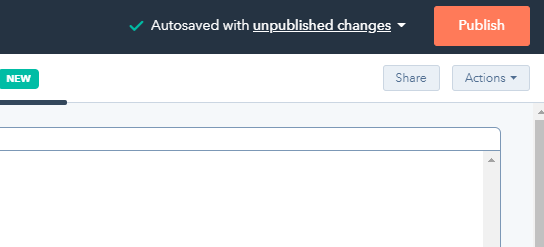
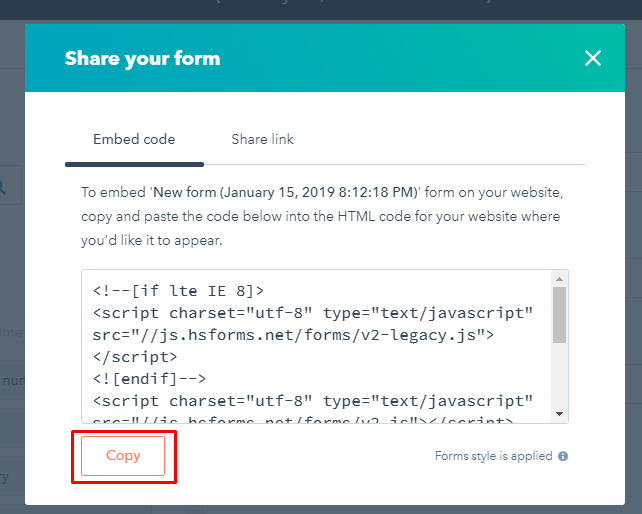
13. Now you can use the form on any of your Hubspot page or you can also copy the script of the form to use it on any different site Page.
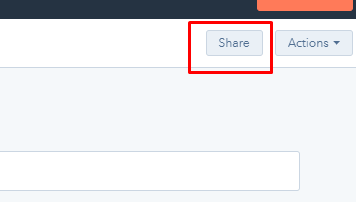
Copy the script by clicking on share on the upper right side.
Get complete HubSpot support here.